
What to Know Before Installing a Recessed Medicine Cabinet Mirror
Homeowners planning a bathroom remodel eventually run into the same question: mount the cabinet on the wall’s surface, or set a medicine cabinet mirror recessed into the wall cavity itself. The second option gives a cleaner, built-in look and can make a small bathroom feel less crowded, but it also means opening up drywall and working around whatever is hiding behind it. Before committing to a recessed install, it helps to understand what the wall needs to accommodate, how the two approaches actually differ day to day, and what to check before the first cut is made.
Why Recessed Mounting Matters
A flush-mounted mirror reads as part of the wall rather than an object attached to it, which changes how a narrow vanity wall feels day to day. In small bathrooms, or wherever a door swings close to the sink, a few extra inches of clearance can matter more than it seems on paper. Recessed cabinets also tend to sit at a more consistent height relative to the backsplash, which is useful in bathrooms with a double vanity where two mirrors need to line up. The tradeoff is permanence: once a cabinet is set into the wall cavity, relocating it later means patching and refinishing drywall rather than simply unscrewing a bracket. That’s worth weighing before deciding which route fits the project.
What the Wall Needs to Accommodate a Recessed Installation
Framing dictates almost everything about whether a recessed installation is straightforward or complicated. Studs are typically spaced 16 inches on center in residential construction, and the standard 2×4 wall cavity offers a depth of about 3.5 inches, which matches many recessed cabinets on the market. Before cutting into drywall, it’s worth confirming a few things with a stud finder or by checking behind a nearby outlet or switch plate.
Things to check before you cut:
- Cavity depth: measure the actual wall thickness, not just the assumed 3.5 inches, since older or exterior walls can vary
- Stud spacing: confirm the rough opening fits between studs spaced 16 inches on center
- Utilities: check for plumbing or wiring runs behind the wall before marking a cutout
- Wall type: plaster-and-lath construction, common in homes built before the 1960s, cuts differently than modern drywall
Once those measurements check out, a medicine cabinet mirror recessed into the wall cavity should fit without needing a furring strip or a shallower model to compensate.
Recessed vs. Surface-Mounted: What Actually Changes
The two mounting styles solve the same storage problem in different ways, and the right choice usually comes down to wall access and how much flexibility the project needs.
- Surface-mounted cabinets: faster to install, no drywall cutting required, and easier to swap out later, but the cabinet projects several inches into the room
- Recessed cabinets: sit flush with the wall for a built-in look, but require confirming what’s inside the wall cavity before installation and are harder to relocate afterward
- Lighting fit: recessed units pair well with sconces or a horizontal light bar mounted directly above, since there’s no projecting frame to interrupt the fixture
- Resale consideration: a flush, built-in mirror often reads as a higher-end finish to buyers touring a home
Planning the Install Before You Cut
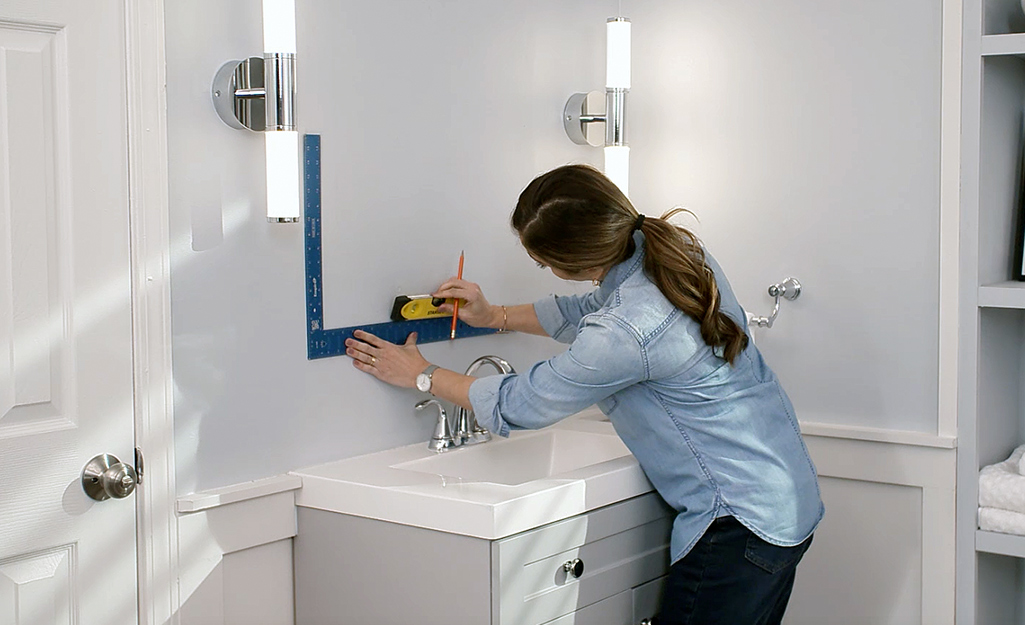
A tape measure and stud finder answer most of the early questions, but it helps to confirm dimensions against the specific cabinet model before opening the wall. Manufacturers typically publish both rough opening and depth specifications, and cross-checking those numbers against the wall’s actual framing avoids the two most common install headaches: a cavity that’s too shallow, and a rough opening that lands directly on a stud.
A quick pre-install checklist:
- Confirm rough opening dimensions against the manufacturer’s spec sheet
- Locate studs, plumbing, and wiring before marking the cutout
- Budget extra time for older walls with plaster-and-lath construction
- Keep a furring strip on hand in case the cavity is shallower than expected
- Cut conservatively; it’s easier to enlarge an opening than to patch one that’s too big
Finishing the Installation
Once the cabinet is set into the wall and secured to the framing, a few finishing details determine how polished the final result looks. Many recessed models include a trim kit that covers the small gap between the cabinet frame and the drywall edge, which saves a round of mudding and sanding if the cutout isn’t perfectly flush. A bead of paintable caulk along the trim’s outer edge closes any remaining gap and gives the installation a built-in appearance rather than an inserted one. It’s also worth checking that the mirror door swings and closes evenly before considering the job done; a door that binds slightly usually means the rough opening needs a small adjustment rather than the hinges. For bathrooms with a double vanity, confirming both mirrors sit at matching heights before final fastening avoids a mismatch that’s harder to correct once the wall is patched around it.
Recessing a mirror rewards the extra planning with a cleaner, more built-in look that a surface-mounted cabinet can’t fully replicate, but that payoff depends on doing the measuring work first. Confirming cavity depth, stud spacing, and what’s hiding behind the drywall before cutting anything is what separates a smooth install from a frustrating one. Homeowners who take that step tend to have a much easier time on install day, with fewer surprises once the wall is open. For anyone comparing cabinet models before making a final decision, retailers such as Allsumhome publish installation diagrams and spec sheets that make it easier to check rough opening and depth requirements ahead of time.